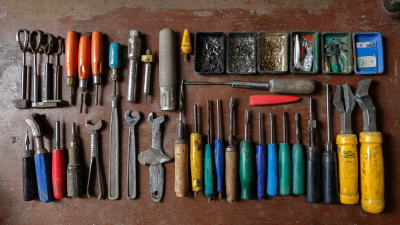
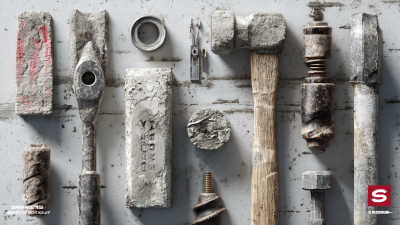
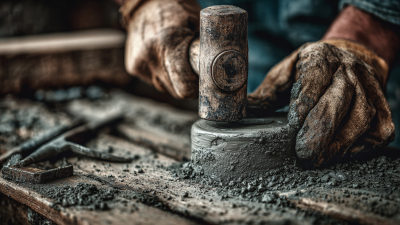
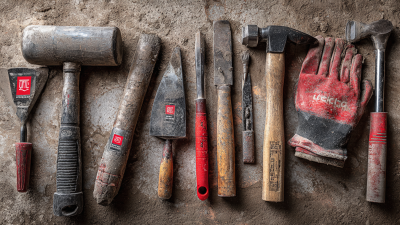
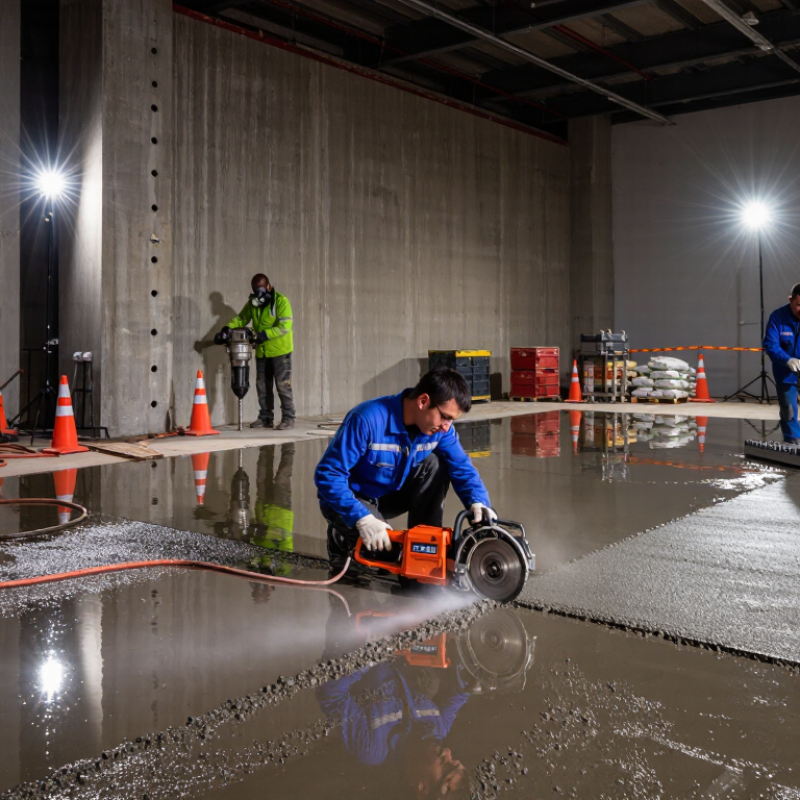
Concrete tools turn hard, cured material into workable surfaces, openings, and edges. A diamond-blade saw cuts a control joint; a rotary hammer drills an anchor hole; a power trowel smooths a floor before it sets. Each tool serves a different stage, and choosing the wrong one can waste time, damage the finish, or create avoidable dust.
The need for informed selection is substantial. The U.S. Occupational Safety and Health Administration estimates that about 2.3 million workers encounter silica dust on the job, including roughly 2 million in construction. Its 2016 silica rule estimated that compliance would prevent more than 600 deaths and 900 new silicosis cases annually. Then-OSHA chief Dr. David Michaels described the rule’s expected impact: “These long-overdue rules will save the lives of over 600 workers and prevent more than 900 new cases of silicosis each year.” This is a safety warning as much as a productivity point. Cutting and grinding concrete can release respirable silica, so dust control, suitable extraction, and proper protective equipment belong in any tool plan.
The right concrete tools depend on the task, material, scale, and finish. A handheld grinder can refine a small edge; a walk-behind saw is better suited to longer cuts. Details matter. Even a sharp blade performs poorly when mismatched to the concrete or used without steady control. It is tempting to focus on the machine alone. That is not enough. Setup, operator experience, and maintenance shape the result, too—and real sites rarely follow a perfect checklist.
Concrete tools are the hand and powered implements used to prepare, place, shape, and check concrete. The right tool helps crews work accurately while the material is still workable. A shovel and wheelbarrow move small batches; a mixer blends cement, aggregates, and water. Details matter. A mix that looks smooth can still be too wet for the slab or step being formed.
During placement, workers use rakes or come-alongs to spread concrete into corners and around reinforcement. A screed—a straight board or metal bar—levels the surface across forms. Edgers shape slab edges, while groovers create control-joint lines. Hand floats smooth the surface without sealing it too early. For larger pours, a vibrating tool can help release trapped air, but overuse may separate the mix. Not always obvious.
Finishing tools support different surface needs: a broom creates texture for traction, while trowels produce a denser finish. Measuring tapes, levels, and straightedges help check dimensions and slope before concrete hardens. Cleaning tools matter too; dried residue is difficult to remove and can affect later work. Tool choice depends on pour size, weather, mix consistency, and crew skill. A tool can improve control, but it cannot fix poor preparation. Even experienced crews may need to adjust when the surface sets faster than expected.
Concrete work relies on several tool categories, each suited to a different stage. Measuring and layout tools, such as tape measures, string lines, and levels, help set slab dimensions and check slopes. Mixing tools range from sturdy shovels and wheelbarrows to powered mixers for larger batches. Consistent water measurement matters; adding extra water may make a mix easier to spread but can weaken the finished concrete.
Placement and consolidation tools move concrete into forms and reduce trapped air. Shovels, rakes, and come-alongs help distribute the mix, while a vibrator can consolidate deeper pours when used correctly. Finishing tools include screeds, floats, and trowels. A straight screed levels the surface, and a float closes small gaps. A steel trowel can create a smoother finish, but working too early may bring excess water to the surface. Details matter.
Tips: Keep tools clean before concrete hardens. Wear gloves and eye protection, and avoid prolonged skin contact with wet concrete. Check the slope with a level as you work. Small pours can still be harder than expected, especially when the weather changes quickly.
| Tool Category | Common Tools | Primary Use | Typical Work Stage | Practical Notes |
|---|---|---|---|---|
| Measuring and Layout | Tape measure, chalk line, string line, level, laser level | Measure dimensions, mark slab edges and joints, and check elevations and slopes. | Before forming and placing concrete | Accurate layout helps establish the correct slab size, boundaries, and drainage fall. |
| Forming and Reinforcement | Form boards, stakes, form ties, rebar cutter, tying tool, reinforcement chairs | Shape and support the pour area and position reinforcement at the specified height. | Preparation before the pour | Forms need to be adequately braced. Reinforcement supports help maintain the specified cover and position. |
| Mixing and Batching | Concrete mixer, mixing tub, shovel, measuring container | Combine cementitious materials, aggregates, water, and any specified admixtures into a workable mix. | Batching and mixing | Follow the mix design and product instructions. Adding excess water can reduce concrete strength and durability. |
| Transporting and Placing | Wheelbarrow, concrete buggy, chute, concrete pump, placement shovel | Move fresh concrete to the placement area and distribute it within the forms. | During the pour | Place concrete as close as practical to its final position to limit unnecessary handling and segregation. |
| Consolidating | Internal vibrator, vibrating screed, hand tamp | Help remove entrapped air and consolidate concrete around reinforcement and within forms. | After placement and before finishing | Use appropriate consolidation for the mix and member. Excessive vibration can cause segregation. |
| Screeding and Leveling | Straightedge, screed board, vibrating screed, laser screed | Strike off excess concrete and bring the surface to the required grade and level. | After placement | Check the surface against the intended elevation and slope as the concrete is struck off. |
| Floating and Surface Finishing | Bull float, darby, hand float, magnesium float, finishing trowel, edger | Close minor surface irregularities, refine the surface, finish edges, and produce the specified texture. | After screeding, as the concrete permits finishing | Avoid finishing while bleed water is present on the surface. The specified finish determines which tools and steps are appropriate. |
| Jointing and Grooving | Groover, jointing tool, straightedge, saw | Form or saw control joints to create planned locations for shrinkage-related cracking. | During finishing or after the concrete has hardened enough for sawing | Joint spacing, depth, and timing depend on the slab design, thickness, and project requirements. |
| Curing and Protection | Curing blanket, spray applicator, plastic sheeting, misting equipment | Help retain moisture and control temperature while concrete gains strength. | After finishing | Begin curing promptly using a method suitable for the project and follow the specified curing duration. |
| Cutting, Drilling, and Surface Preparation | Concrete saw, core drill, chipping hammer, grinder with suitable dust control | Cut joints, make openings, remove concrete, or prepare a surface for repair or bonding. | After concrete has hardened | Use suitable blades or bits and control silica-containing dust with approved wet methods or effective dust extraction. |
| Safety and Cleanup | Alkali-resistant gloves, safety glasses, protective clothing, hearing protection, respirator where required, wash station | Reduce exposure to wet concrete, dust, noise, and flying particles, and support prompt cleanup. | Throughout the work | Wet concrete can cause skin and eye burns. Follow site safety procedures and the applicable safety data information. |
Concrete tools guide the mix from preparation to finish. A shovel breaks up dry pockets, while a measured water addition keeps the batch consistent. A wheelbarrow or buggy moves concrete to the pour; a vibrator helps release trapped air around reinforcement and forms. Small details matter. The USGS Mineral Commodity Summaries 2024 estimates global cement production at 4.1 billion metric tons in 2023, with about 91 million metric tons produced in the United States. Cement is only one ingredient in concrete, but these figures show the scale of material that crews handle.
Once placed, a straightedge screed cuts high spots and fills low ones. A bull float follows to flatten ridges before the surface stiffens. Edgers define slab borders; hand floats and steel trowels refine the finish at different stages. For quality checks, ASTM C143 describes the slump test, which uses a cone to assess fresh concrete’s consistency. A tool cannot rescue a poorly proportioned mix. Not every slab behaves. Weather, timing, and crew pace change how the surface responds, so finishing by the clock alone can mislead.
Curing tools matter, too. A sprayer can apply curing compound evenly, while damp coverings help retain moisture. A common mistake is troweling while bleed water remains; the surface may look ready but later scale. I’d inspect a small area before committing to the whole slab. Room for judgment remains.
Concrete finishing tools shape a slab while the concrete is still workable. A screed levels fresh concrete across the forms, leaving a rough, even surface. A bull float then smooths ridges and pushes down larger aggregate. Use it soon after screeding, but avoid overworking the mix or bringing excess water to the top.
For smaller areas and edges, hand floats, edgers, and groovers offer more control. An edger rounds slab edges to help reduce chipping, while a groover creates planned joints that guide cracking. Steel trowels can produce a dense, smooth finish, but timing matters. Wait until bleedwater has disappeared before troweling; sealing water into the surface can weaken it. For outdoor walkways, a stiff-bristle broom can add texture. Light, steady strokes usually make a more consistent pattern. Too much pressure leaves deep ridges.
Curing tools help concrete retain moisture as it gains strength. Plastic sheeting, damp coverings, or curing blankets can slow moisture loss, especially in warm or windy weather. A sprayer can apply curing compound evenly when that method suits the project. Follow the product directions and protect the surface from foot traffic. Check coverings regularly; dry patches can form underneath. Small slabs seem simple, but corners often dry first. I still find curing harder to judge than finishing, because the surface can look ready before it has had enough time.
What Are Concrete Tools Used For?
How Tool Choice Depends on the Concrete Task
Concrete tools are chosen for the surface, scale, and timing of a pour. A screed levels fresh concrete across forms, while a bull float smooths broad areas before water rises to the surface. For a small step or narrow path, a hand float offers more control. A finishing trowel creates a tighter surface, but using it too early can trap moisture and weaken the finish. Timing matters as much as the tool.
Edges and joints call for more specific tools. An edger shapes a neat border along forms, and a groover presses control joints into the slab. These joints help manage where cracking may occur as concrete shrinks. For outdoor walkways, a broom can add texture that improves grip. A smooth finish may look clean, yet it can become slippery when wet. The right choice depends on how the surface will be used, not just how it looks.
Tips: Match tool size to the area, and clean tools before concrete hardens on them. Watch the surface, not only the clock; drying conditions vary. A frequent mistake is overworking concrete to hide unevenness. Sometimes the better choice is to pause, reassess, and use a suitable tool at the right stage.
| Cookie | Duration | Description |
|---|---|---|
| cookielawinfo-checkbox-analytics | 11 months | This cookie is set by GDPR Cookie Consent plugin. The cookie is used to store the user consent for the cookies in the category "Analytics". |
| cookielawinfo-checkbox-functional | 11 months | The cookie is set by GDPR cookie consent to record the user consent for the cookies in the category "Functional". |
| cookielawinfo-checkbox-necessary | 11 months | This cookie is set by GDPR Cookie Consent plugin. The cookies is used to store the user consent for the cookies in the category "Necessary". |
| cookielawinfo-checkbox-others | 11 months | This cookie is set by GDPR Cookie Consent plugin. The cookie is used to store the user consent for the cookies in the category "Other. |
| cookielawinfo-checkbox-performance | 11 months | This cookie is set by GDPR Cookie Consent plugin. The cookie is used to store the user consent for the cookies in the category "Performance". |
| viewed_cookie_policy | 11 months | The cookie is set by the GDPR Cookie Consent plugin and is used to store whether or not user has consented to the use of cookies. It does not store any personal data. |